What is Anka Build
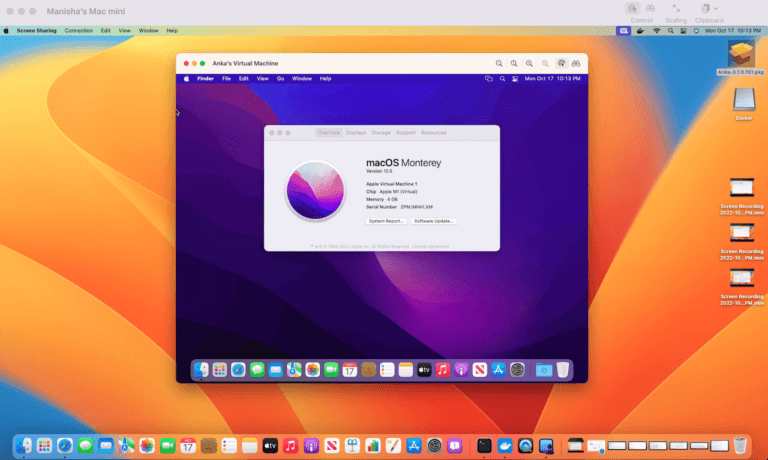
Anka Build is a solution suite to configure a macOS cloud mac hardware, on which you can provision immutable docker like macOS VMs for iOS and macOS CI jobs. Anka hypervisor enables macOS VMs to run in a very resource efficient manner and fast boot feature makes them available on-demand instantly. Anka controller and registry modules provide a simple method to set up a scalable macOS cloud and integrate with third party CI systems.
Anka command-line interface enables you to bootstrap and prepare your macOS VMs in a dockerfile like fashion, for CI build and test jobs.
In this blog, we will look at how you can start to manage your macOS CI infrastructure as a code. Part 1 of this blog will focus on creation and bootstrap your macOS build/test environment that you can use a VM template to provision simple, fast, immutable elastic docker like slaves/agents.
Step 1 – Install AnkaBuild.
Install ankabuild.pkg on your mac and activate license (sudo anka license activate key). You can automate the installation and activation steps.
Step 2 – Create macOS VM.
Build a macOS VM running a specific version of macOS, hard drive allocation, CPU, and RAM. You can also modify CPU and ram settings later.
anka create --ram-size 4G --cpu-count 2 --disk-size 45G --app /Applications/Install\ macOS\ High\ Sierra.app myhisierravm
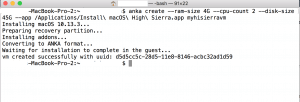
Step 3 – Install Toolkits in the macOS VM.
Use ‘anka run’ to work inside the newly created VM and install dependencies like Xcode etc to prepare your VM for iOS build/test. Anka run is similar to docker run. When you execute ‘anka run’ against an Anka VM, it executes in an isolated manner inside the VM, separate from the host.
Step 3.1 – Install brew, homebrew in Anka macOS VM.
Just execute command, provided on the brew.io site, but with ‘anka run’ to install brew inside the Anka VM.
anka run -n myhisierravm ruby -e "$(curl -fsSL https://raw.githubusercontent.com/Homebrew/install/master/install)"
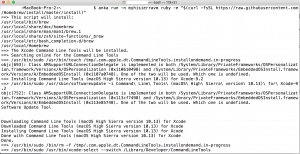
Step 3.2 – xcode-install in Anka macOS VM.
Execute xcode-select tool command with ‘anka run’ to install it inside the Anka macOS VM.
anka run -n myhisierravm sudo gem install xcode-install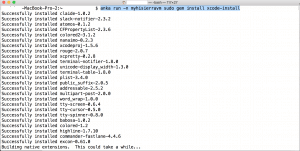
Step 3.3 – Complete Xcode setup in Anka macOS VM.
FASTLANE_PASSWORD='passwd' FASTLANE_USER='usr' anka run -nE myhisierravm xcversion list
Note : -n option of anka run prevents implicit mounting of current folder inside the VM.
-E enables inheriting env variables (eg : FASTLANE variables) in the Anka macOS VM.
FASTLANE_PASSWORD='passwd' FASTLANE_USER='usr' anka run -nE myhisierravm xcversion install 9.2
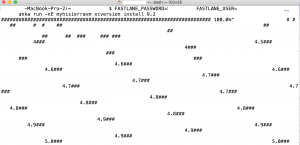
In some scenarios, it might not be best to provide credentials directly in shell command line (saved history, etc). To secure FASTLANE_ variables, you could store them into a text file (fastlane_cred.txt) in the following form.
Then populate the Anka VM environment from the file (with -f | –env-file option).
anka run -nf fastlane_cred.txt myhisierravm xcversion install 9.2
Step 4 – Xcode setup is now complete inside Anka macOS VM.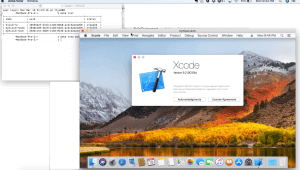
Step 5 – Mount provisioning profiles from host inside the VM.
anka mount myhisierravm ~/Library/…/Provisioning\ Profiles /Users/anka/Library/…/Provisioning\ Profiles
This will make provisioning profiles accessible inside the VM for Xcodebuild.
Step 6 – Execute Xcodebuild for your project inside the Anka macOS VM.
anka run myhisierravm xcodebuild test -scheme Kickstarter-Framework-iOS -destination 'platform=iOS Simulator,name=iPhone 8,OS=11.2'
Note : This command mounts the existing current folder from the host into the VM and executes Xcodebuild on it. Because we mounted provisioning profiles in the previous step to a specific default Xcodebuild location inside the VM, the above command will use those mounted provisioning profiles without the need for any configuration change inside the VM.
Refer to anka run command line help for additional details.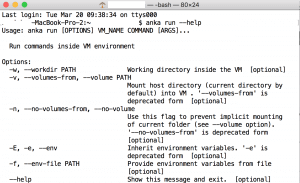
In the next blog in this series, we will share how to setup and manage the Anka Build macOS CI cloud with command line/Infra as a code. Stay tuned.

